Ways to Construct a Paper Crane
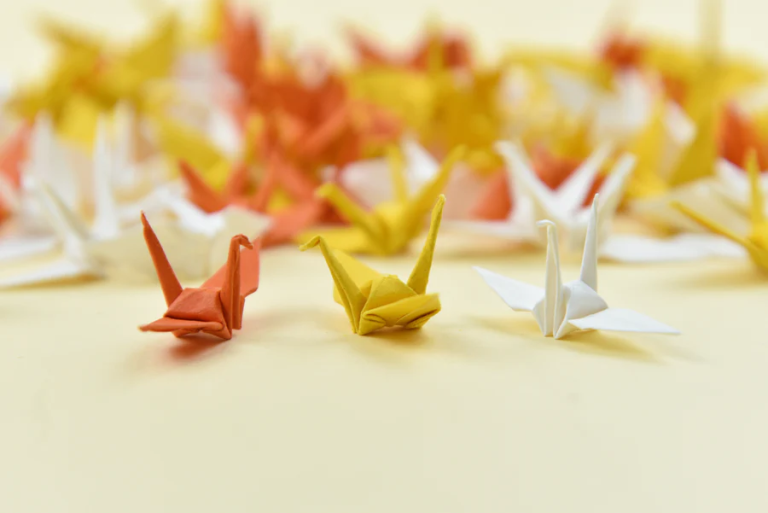
Paper cranes are a classic origami design that gained popularity in American culture because to tales based on the Japanese folktale that the first person to fold a thousand cranes will get their wish fulfilled. Consider reading Sadako and the Thousand Paper Cranes.
However, we must first learn how to make desires before we can work on fulfilling them! Come on, let’s go.
Step 1: Hip to Be Square

For this project you will need 1 square piece of paper (preferably origami paper)*, and nimble fingers.
*I used 5.9×5.9″ origami paper.
Step 2: X Folds


3 More Images
The first step is to fold the square diagonally, corner to corner. Repeat the same process again so that it looks like an x on your paper. Make sure that you properly align the edges or else your crane won’t fold as well. Make sure it is as perfect as possible.
Step 3: + Folds


5 More Images
The second step is to flip the paper over and fold the paper in half horizontally. Repeat this process again so that your paper looks like a + and a x on top of each other. Make sure it is pefect just like with the x. Making sure your folds are aligned perfectly is a key part of this.
Step 4: Accordion Fold


3 More Images
Open the square up, keeping the colored side down. Turn the square so that one of the corners is pointing at you.
Bring the two side corners in to meet the corner on the table that’s pointing at you. (like pictured)
Take the top corner that’s still sticking up and press it down to join the other corners, creating an accordion folded square.
Step 5: Superman Fold


2 More Images
With the ‘flap’ corners still facing you, take the top right hand corner of the square and fold it into the center diagonal line of the square. The result of your folds will look a bit like the Superman logo shape. Repeat this with the left top corner.
Step 6: Top Fold


Once both parts are folded in pull the top part down and press the crease.
Step 7: Frog Mouth to Diamond Fold


3 More Images
After you have both halves of the triangle pulled in pull them back out and lift up the top piece of paper.
Next, lift up the top front corner and hold down the other three front corners. Pull the top corner up. It should look look like a frogs mouth.
The next part is a bit tricky. Pull the top corner all the up and back so that the top piece lies flat. Carefully press all the folds down so that you end up with a diamond shape on top of the bottom diagonal square.
Step 8: Press Repeat


8 More Images
Flip the paper over and repeat Steps 5-7 to the other side.
Step 9: Skinny Kite Fold


3 More Images
Next, fold the right top corner of the diamond in to meet the center line. Press down that fold.
Repeat this for the left top corner.
Flip the paper over and repeat the above steps for the other side. You’ll end up with something that looks a bit like a skinny kite shape.
Step 10: Wolf’s Head Fold


3 More Images
Now, lift up the top right side and press it over to the other side, like turning a page in a book. Press down the middle fold.
Flip the paper over and repeat this in the same direction, right to left, on the other side.
You will end up with a very elongated ‘wolf’s head’ shape.
Step 11: Snout Flip Fold


2 More Images
Lift up the wolfs snout and fold it so it meets with the tips of the ears. Press that new fold down.
Flip the paper over and repeat on the other side.
Step 12: Book Fold


3 More Images
Like you did in Step 9, fold the right side top layer of the paper in a book fold, from right to left.
Flip the paper over and repeat on the other side.
Step 13: Heads & Tails Fold


5 More Images
Next, you pull out the long pieces of paper (the head/neck & tail). Pull them both out so that they line up with the angle of the body fold. (like pictured)
Bend the top of one side down to make the head.
Step 14: Flap Folds


Fold both wings down where two different angles meet on the wing flaps. Press the folds.
Step 15: Puff It Up


3 More Images
To finish off the crane and make it able to stand, gently pull the wings apart where they’re folded.
Then turn the crane upside down and gently pull the opposite corners apart to finish opening up the body.
You can also try blowing into the hole on the bottom as you pulll out the wings to make sure you’re crane’s body is puffed out. Be careful to not pull out the wings too much or they’ll rip. If the wings rip you will have to restart your crane with a new piece of paper.
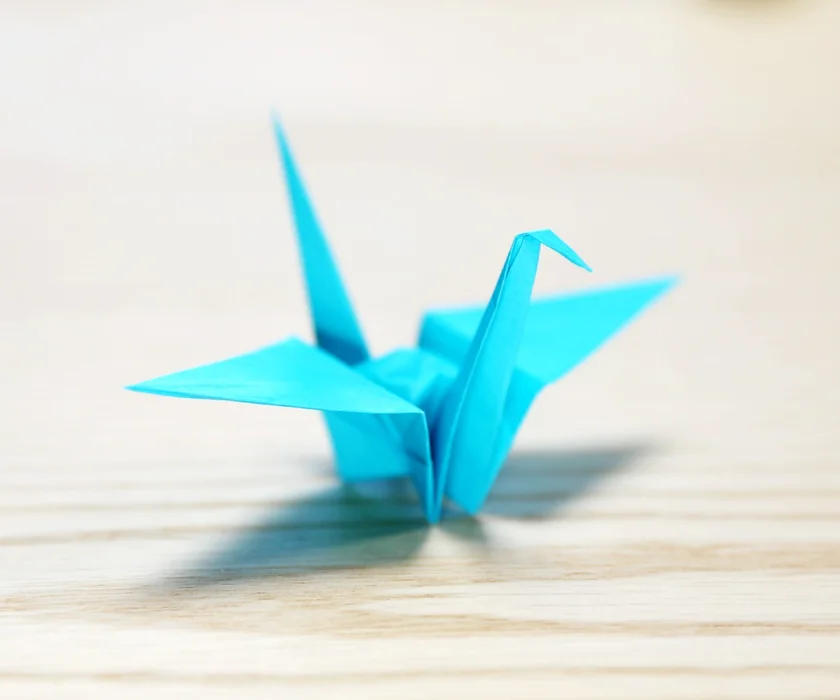
Step 16: You’re Finished!
